Expert advice, professional guides, and product spotlights to help you build better.
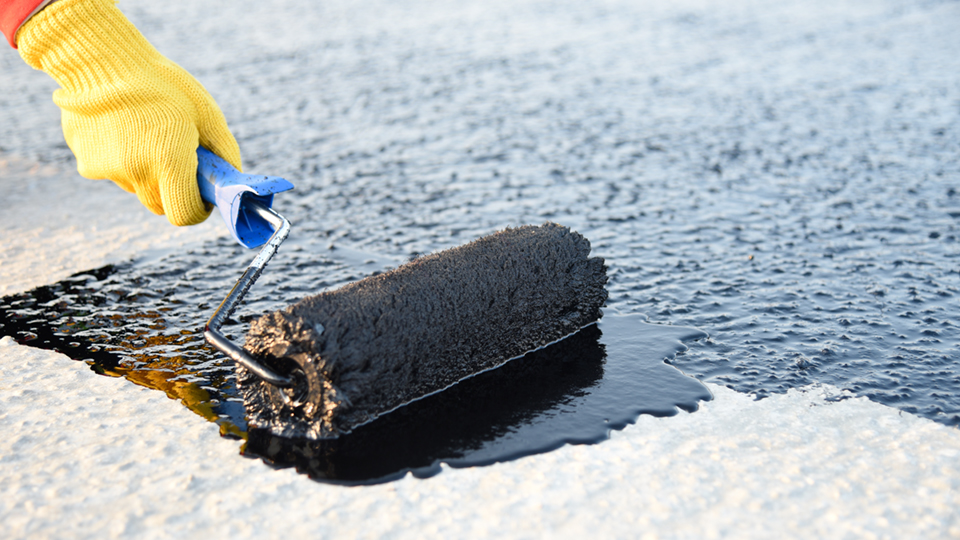
Water damage is one of the most destructive and costly issues a building can face. From structural damage to mold growth, the consequences of poor waterproofing are severe. Choosing the right waterproofing method is not just a preventative measure; it's a critical investment in the longevity and safety of your structure. The two most common categories you'll encounter are Cementitious Coatings and Liquid Membranes.
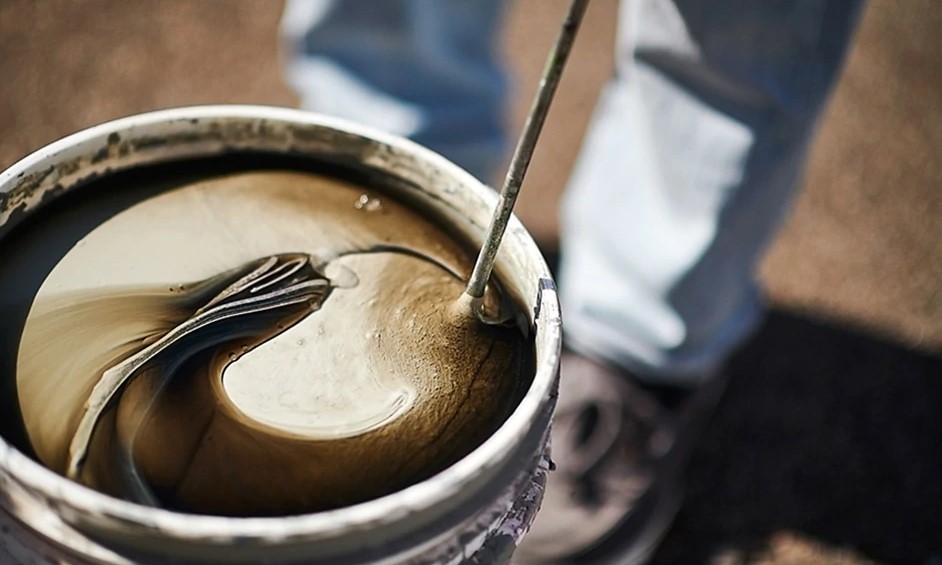
This is a powder-based mix that you combine with a liquid acrylic additive. When applied, it creates a rigid, durable, and seamless barrier that bonds directly with concrete and masonry.
These are liquid coatings that, when cured, form a flexible, rubber-like, and continuous waterproof membrane. They are incredibly versatile and can be applied to a variety of surfaces.
There is no single "best" solution—only the right solution for the specific application. For below-ground structures needing a tough, impenetrable barrier, Cementitious Coatings are the industry standard. For roofs and areas exposed to the elements and movement, the flexibility of a Liquid-Applied Membrane is essential. Our team is always ready to analyze your project's needs and recommend the perfect product to ensure a watertight result.
Epoxy adhesives like Araldite are miracle workers for high-strength repairs, but simple mistakes can lead to a weak bond or a complete failure. Here are the five most common pitfalls and how to avoid them for a professional-grade result every time.
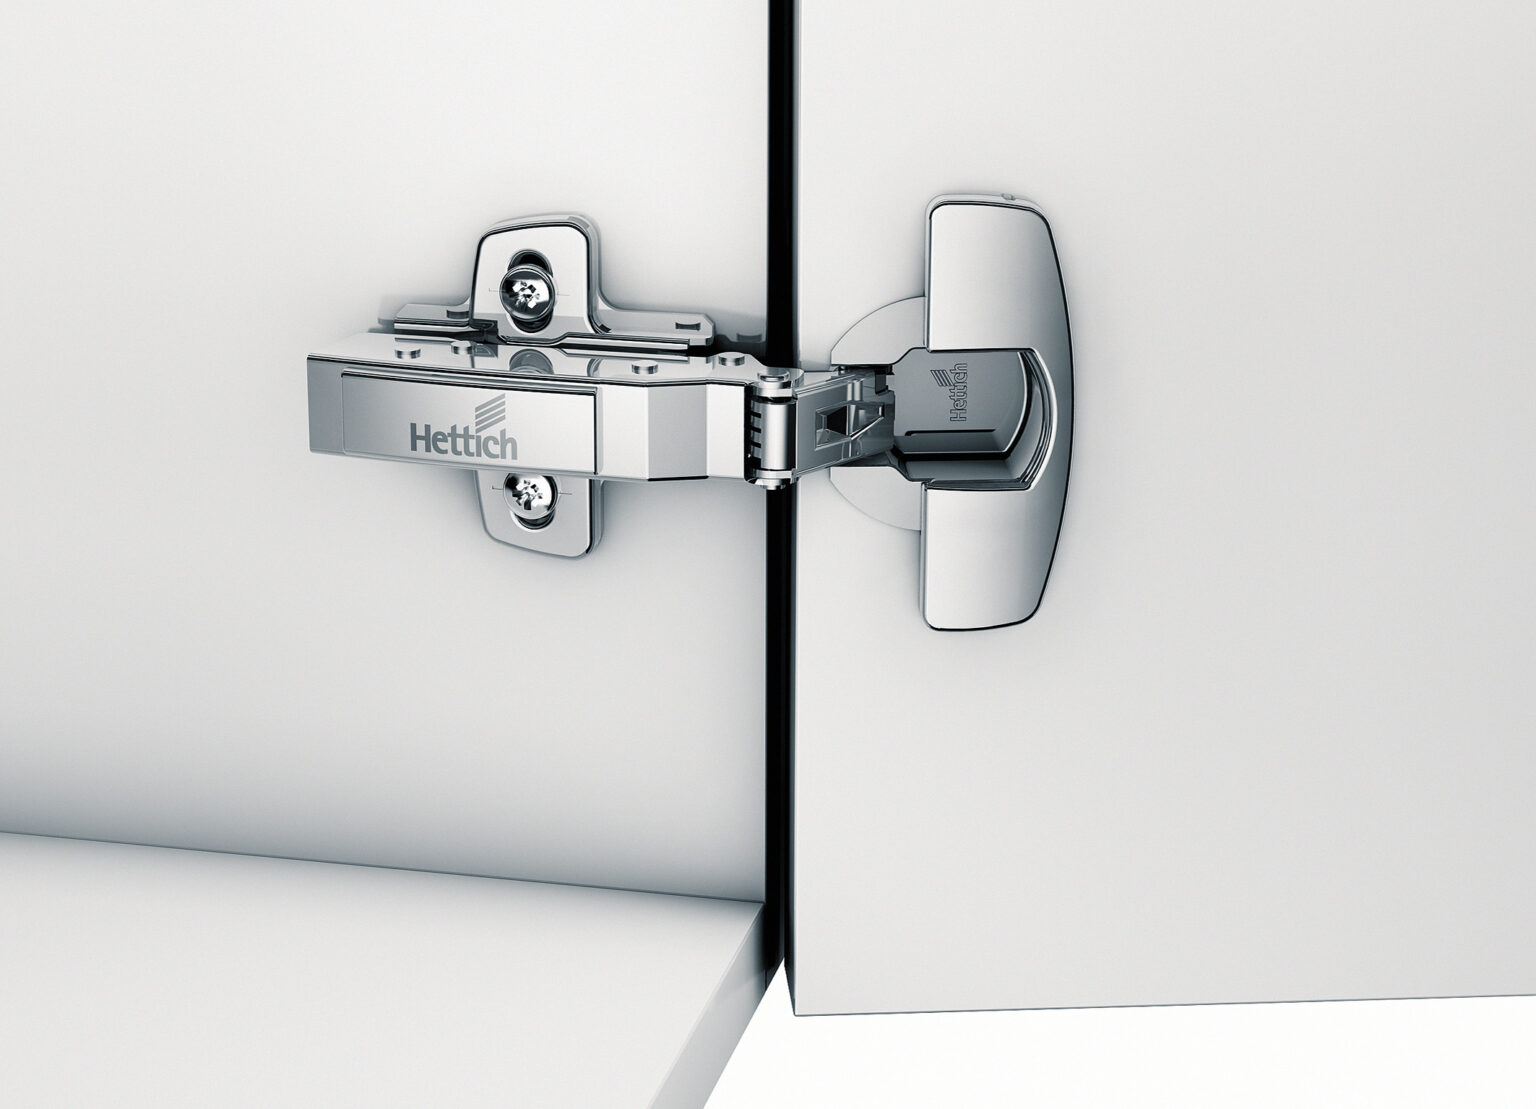
In the world of high-end cabinetry, the quality of the hardware is just as important as the quality of the wood. A hinge isn't just a pivot; it's the heart of the door's movement and feel. For years, discerning carpenters and designers have turned to the Hettich Sensys hinge as their gold standard. Here's why.
The most celebrated feature is the integrated soft-closing damper. It's not an add-on; it's built into the hinge cup. This mechanism ensures a smooth, silent, and satisfying closing motion every single time. The door gently pulls itself closed from a wide-angle, adding a touch of luxury and preventing slamming that can damage the cabinet over time.
The Sensys hinge engages its soft-close mechanism from an exceptionally wide angle of 35 degrees. This means that even if a door is only given a slight push, the hinge will take over and complete the closing process silently, a feature unmatched by many competitors.
Time is money on the job site. Hettich designed the Sensys hinge for quick, tool-free installation and removal from the mounting plate. The 3-dimensional adjustment (depth, height, and side-to-side) is intuitive and precise, allowing for perfect alignment of cabinet doors with minimal fuss.
The sleek, elegant design of the Sensys hinge, complete with a cover cap for the hinge cup, has won multiple international design awards. But it's not just about looks. Rigorously tested to withstand tens of thousands of cycles, these German-engineered hinges are built to last a lifetime, performing flawlessly even under heavy use.
For projects where quality cannot be compromised, the Hettich Sensys hinge is a sound investment. It elevates the final product, delights the end-user, and saves valuable time during installation. We are proud to be a premier distributor of Hettich products, stocking the full range of Sensys hinges for any application you can imagine.
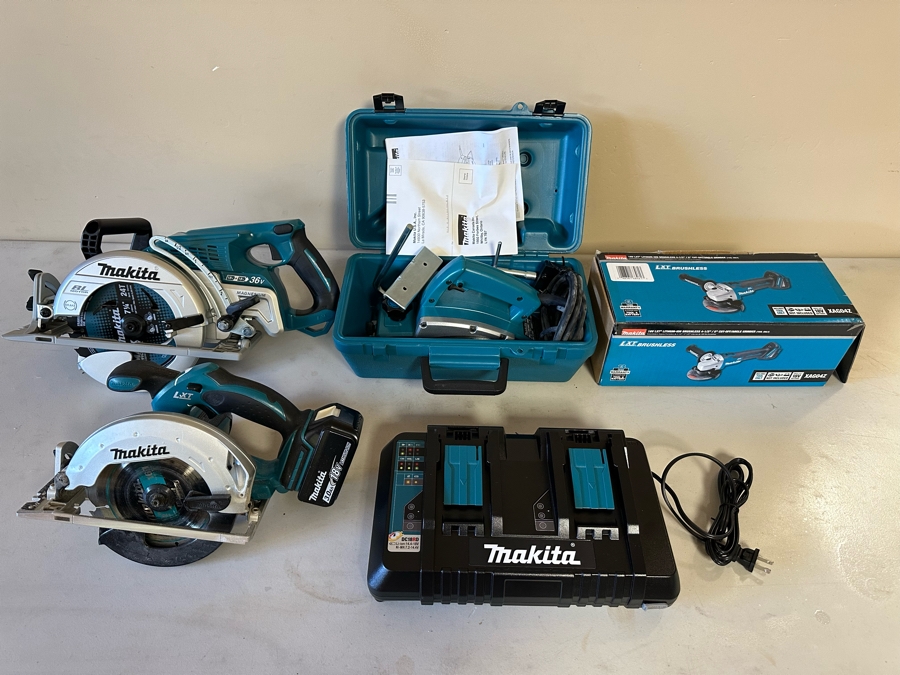
Makita power tools are renowned for their reliability and performance. However, even the toughest tools need regular maintenance to ensure they operate safely, efficiently, and for many years to come. Follow these essential tips to prolong the life of your investment.
This is the simplest yet most crucial step. After each use, use a dry cloth and a soft brush to remove dust, debris, and sawdust. For stubborn grime, use a slightly damp cloth. Most importantly, use compressed air to blow out dust from the motor vents. Clogged vents are the primary cause of overheating and motor burnout.
For corded tools, regularly inspect the power cord for any cuts, frays, or damage. A damaged cord is a serious safety hazard. For cordless tools, keep the battery contacts clean on both the tool and the battery. Wipe them with a dry cloth to ensure a solid connection. Store batteries in a cool, dry place away from extreme temperatures.
Carbon brushes in brushed motors wear down over time. If your tool is sparking excessively or losing power, it might be time to replace the brushes. It's an inexpensive and easy repair that can save your motor. For saws and grinders, ensure blades and discs are sharp, clean, and free of cracks. A dull blade forces the motor to work harder, leading to premature wear.
Don't just toss your tools in a pile. Store them in their original cases or a dedicated tool chest. This protects them from moisture, impacts, and dust. Storing them properly prevents accidental damage and keeps them organized and ready for the next job.
A few minutes of maintenance after each job can add years to the life of your Makita tools. By keeping them clean, inspected, and properly stored, you ensure they are always ready to perform at their best. We stock a full range of Makita accessories, including replacement blades, discs, and carbon brushes, to help you keep your tools in peak condition.
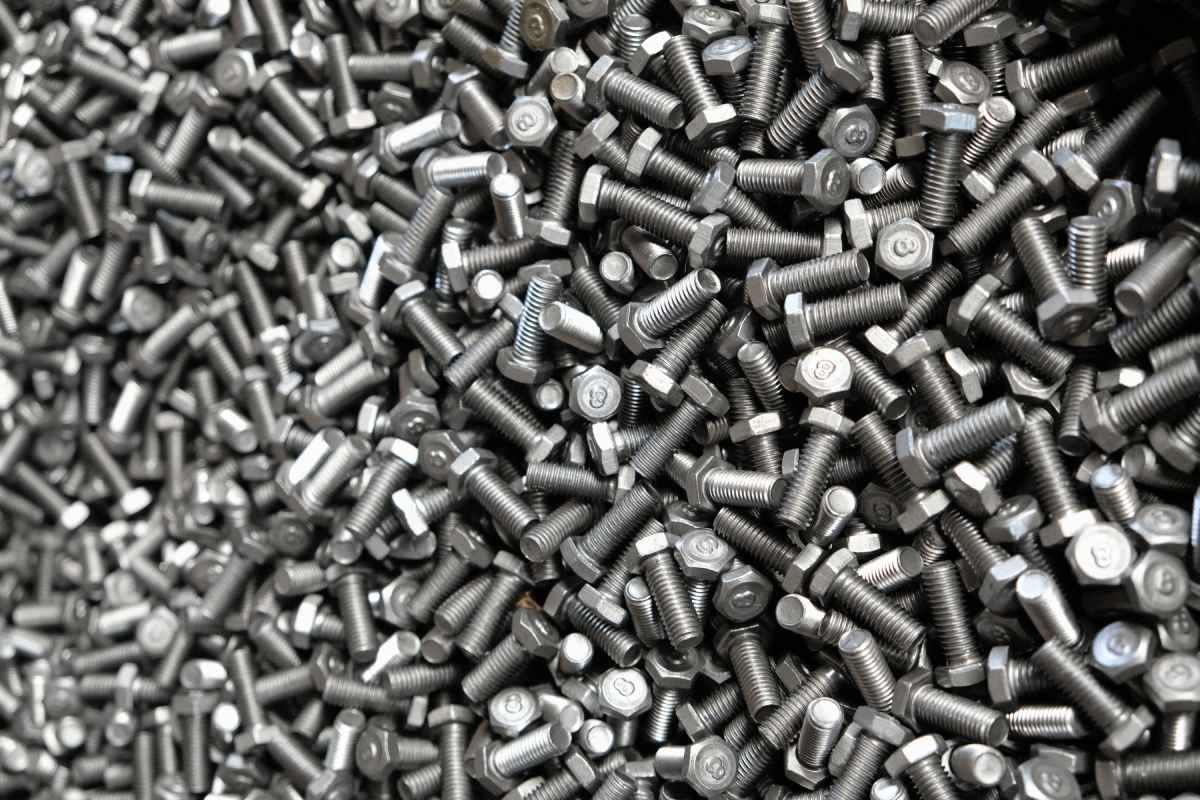
Using the wrong screw or anchor can lead to everything from a wobbly shelf to a catastrophic structural failure. Understanding which fastener to use for which material (or "substrate") is a fundamental skill for any professional. Here's a quick guide.
Standard wood screws are your best bet. They have a coarse thread designed to grip wood fibers securely. For outdoor projects, always use coated or stainless steel screws to prevent rust. For fine cabinetry, consider specialized screws with self-tapping points to prevent splitting.
Self-tapping screws (or sheet metal screws) are ideal. They have a harder steel composition and finer threads designed to cut into metal. For thicker metal, you may need to drill a pilot hole first. When fastening to steel studs, use self-drilling screws with a "tek" point that acts as a drill bit.
For light-duty items, a coarse-threaded drywall screw driven into a wall stud is sufficient. For hollow sections of drywall, you must use an anchor. Plastic wall plugs (like those from Fischer) are great for light loads, while toggle bolts or molly bolts provide significantly more strength for heavier items like shelving.
Never use a standard screw in concrete. You need a dedicated masonry anchor. For light to medium loads, sleeve anchors or wedge anchors are a common choice. For heavy-duty, structural applications, a chemical anchor system (like Fischer's resin systems) provides the strongest possible bond by chemically adhering a threaded rod into the concrete.
The fastener is the unsung hero of every project. Taking a moment to choose the correct one is critical. Our inventory includes a comprehensive range of screws, bolts, and anchoring systems from leading brands like Fischer and Picasso for every substrate you'll encounter. If you're ever in doubt, our expert team can guide you to the perfect solution.
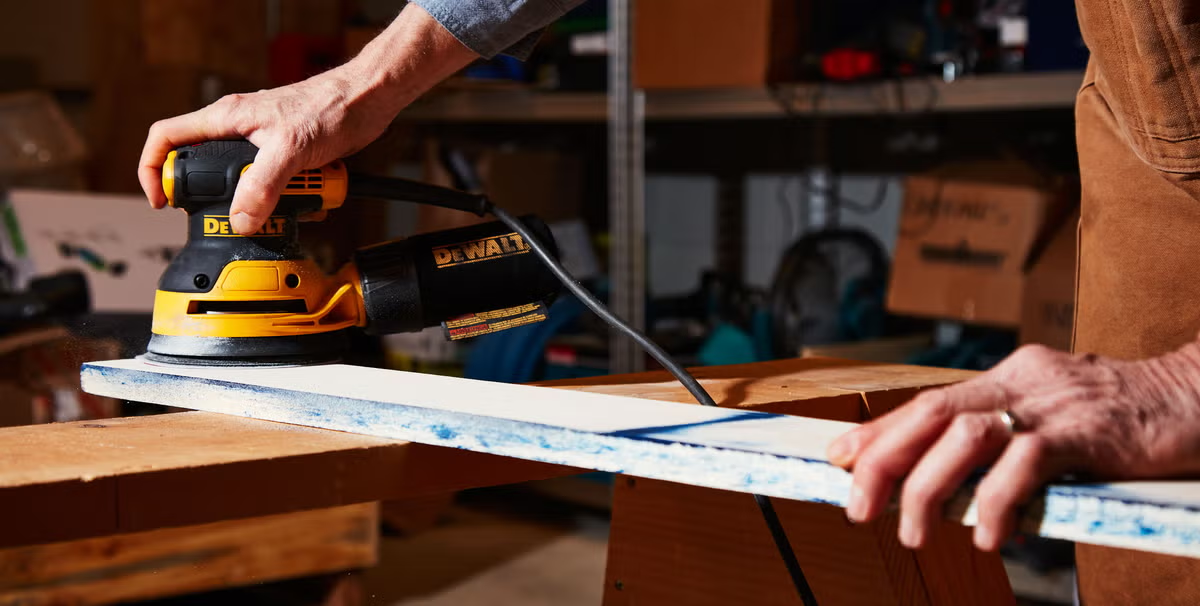
Whether you're shaping metal, smoothing wood, or prepping a surface for paint, the quality of your finish depends entirely on your choice of abrasive. Brands like Klingspor, Flexovit, and 3M offer a vast range, but understanding the basics of grit and material is key.
The "grit" number on sandpaper or a grinding disc refers to the number of abrasive particles per square inch. It's a simple rule:
The material of the grit itself is also crucial for performance:
Achieving a professional finish requires a systematic approach. Start with a lower grit to do the heavy lifting, then progressively move to higher grits to remove the scratches from the previous step. Using the right abrasive material for your substrate will make the job faster and give you a better result. We stock a complete range of abrasive solutions from world-class brands for every stage of your project.

In the sealant aisle, you're typically faced with two main choices: Silicone and Polyurethane (PU). While they may look similar in the tube, their chemical properties and ideal applications are vastly different. Choosing the wrong one can lead to a failed seal and costly rework.
Silicone is an inorganic polymer known for its incredible flexibility and resistance to temperature and UV light. It remains pliable for years without cracking or shrinking.
PU is an organic polymer known for its toughness and strong adhesive properties. It forms a harder, more durable seal than silicone.
Here’s the simple rule of thumb: If it’s in a bathroom or needs to stick to glass, choose Silicone. If it's a construction joint that needs to be tough, durable, and possibly painted, choose Polyurethane. Stocking leading brands of both types, we can provide the ideal sealant to ensure a permanent, professional seal for any joint.
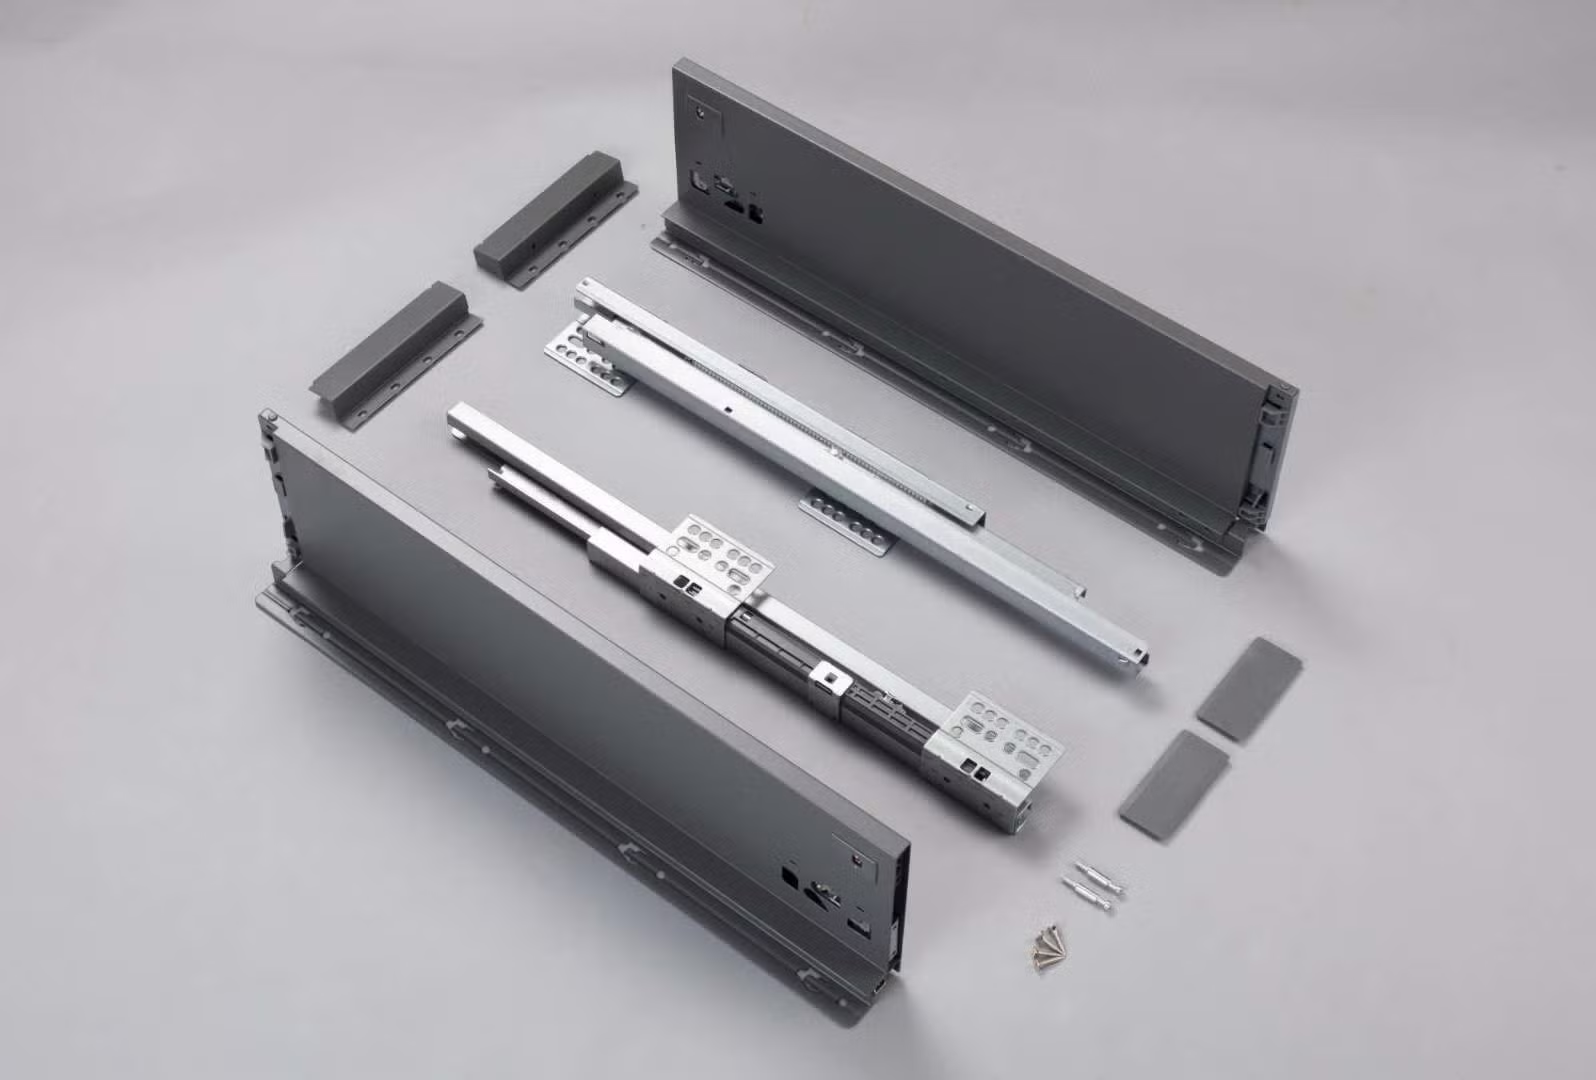
A drawer is only as good as its slides. They dictate the feel, function, and longevity of your cabinetry. From basic utility to high-end luxury, choosing the right slide is key. Let's break down the main types you'll find from brands like Hettich and Ebco.
These are the traditional, most economical option. They typically consist of two rollers, one on the cabinet member and one on the drawer member. They are simple and reliable for light-duty applications.
A significant step up in quality. These slides use rows of ball bearings to provide a much smoother and quieter action. They are more durable and can handle heavier loads than roller slides.
For the ultimate in aesthetics and performance, undermount slides are the top choice. The hardware is mounted under the drawer, making it completely invisible when the drawer is open. This provides a clean, high-end look.
For most quality projects, ball-bearing slides offer the best balance of performance and cost. For high-end applications where aesthetics and a premium feel are paramount, undermount slides are the definitive choice. We offer a comprehensive selection to match any project's budget and functional requirements.
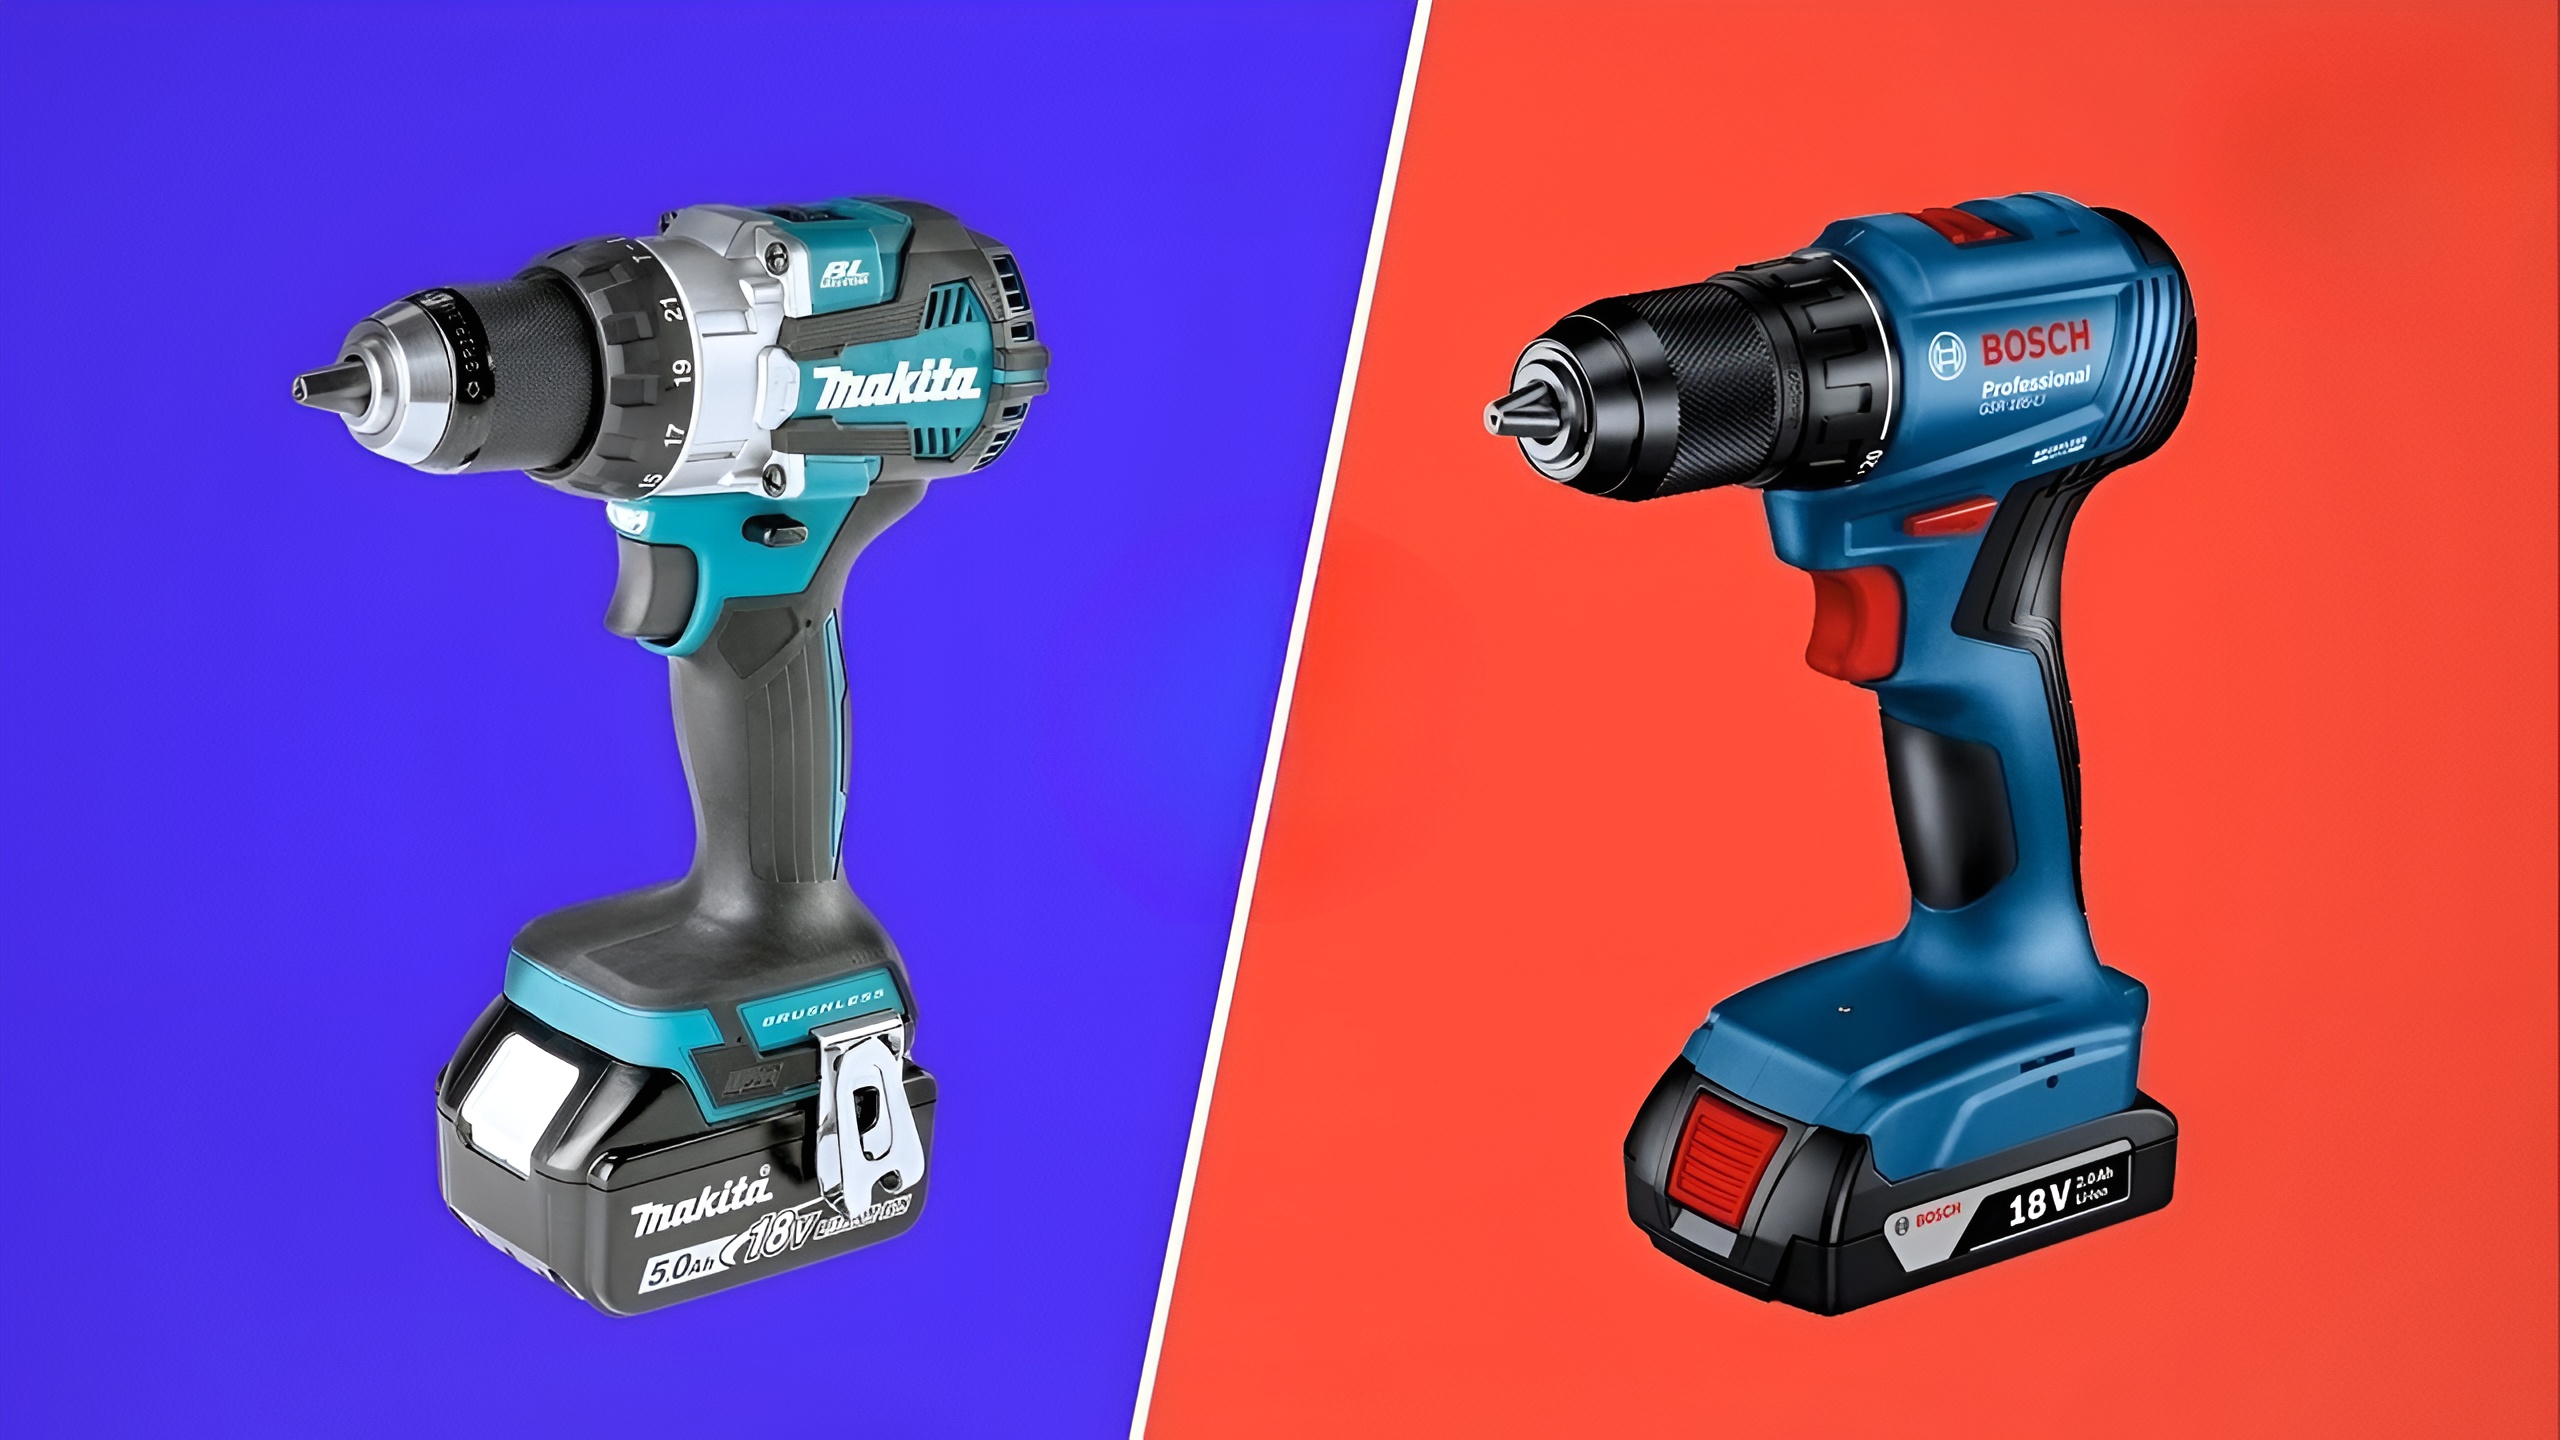
It's one of the oldest debates on the job site: Bosch Blue or Makita Teal? Both brands are titans of the industry, known for producing high-quality, reliable tools. While you can't go wrong with either, they have distinct philosophies that might make one a better fit for you.
Bosch's reputation is built on German engineering and a focus on precision and advanced technology. Their tools often feel incredibly solid and are packed with features.
Makita's philosophy centers on creating a vast, reliable, and ergonomic ecosystem. They are famous for their comfortable tool design and having the largest 18V LXT battery platform in the world, powering everything from drills to lawnmowers.
Think of it this way: If you see your tools as a collection of specialized surgical instruments, Bosch might be your brand. If you see them as a versatile and utterly dependable crew that can handle any task thrown at them, Makita is likely your best bet. As official distributors for both, we believe the best choice is an informed one. Come in and feel the difference for yourself.
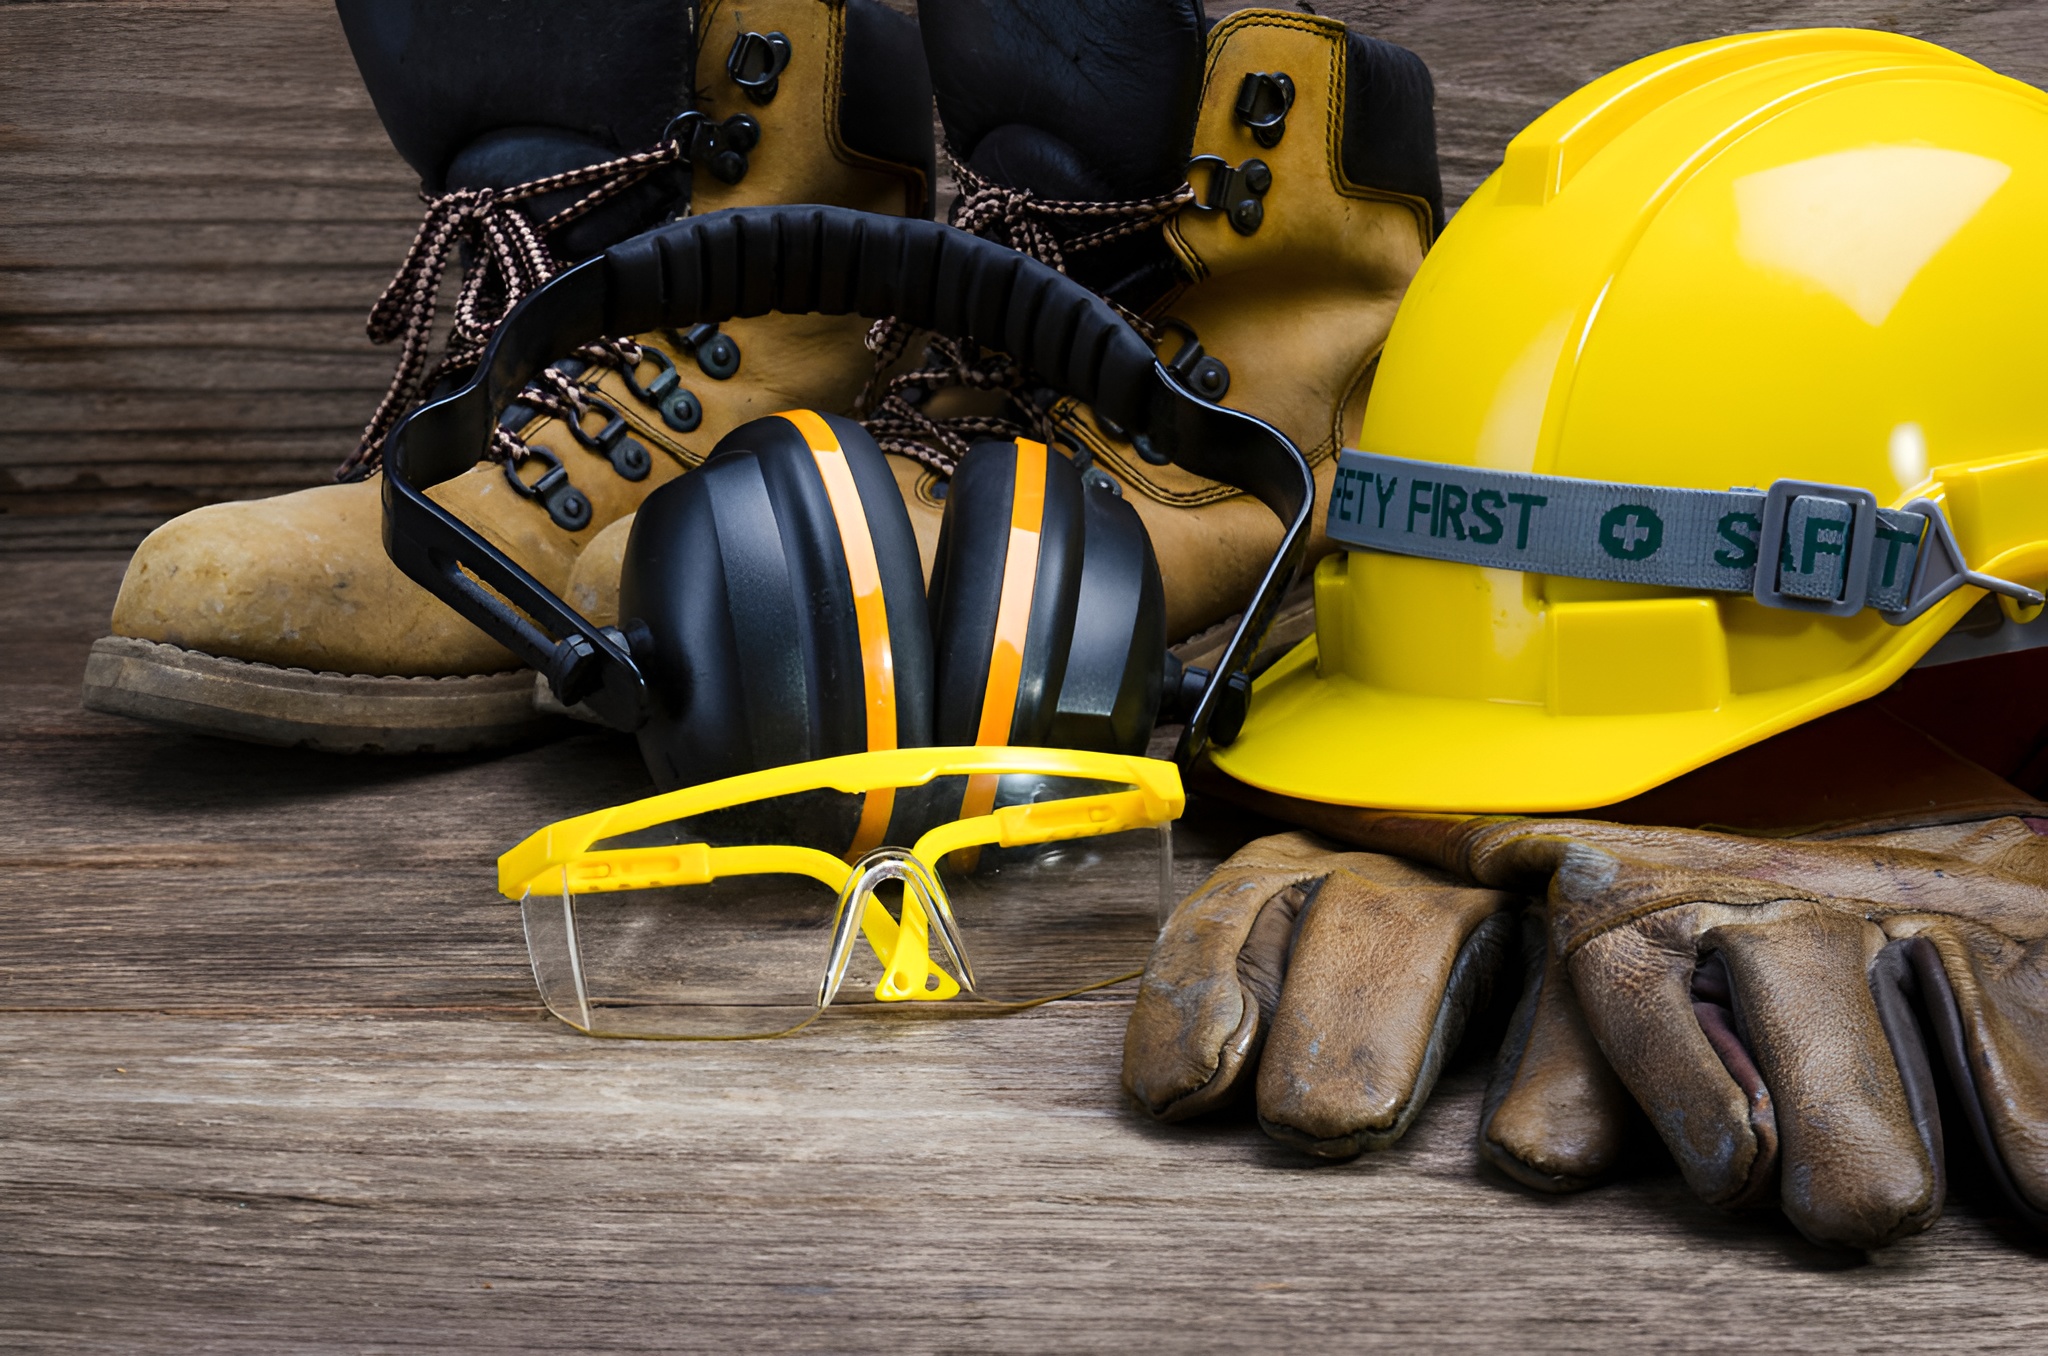
Everyone knows about hard hats and steel-toed boots, but a truly safe worksite depends on personal protective equipment (PPE) that often gets overlooked. Here are five essential safety items from brands like 3M and Uspro that should be in every toolbox.
Safety is not an expense; it's an investment in your well-being and your career. We stock a comprehensive range of certified PPE to ensure you and your team are protected from the specific hazards of your job. Don't compromise on safety.
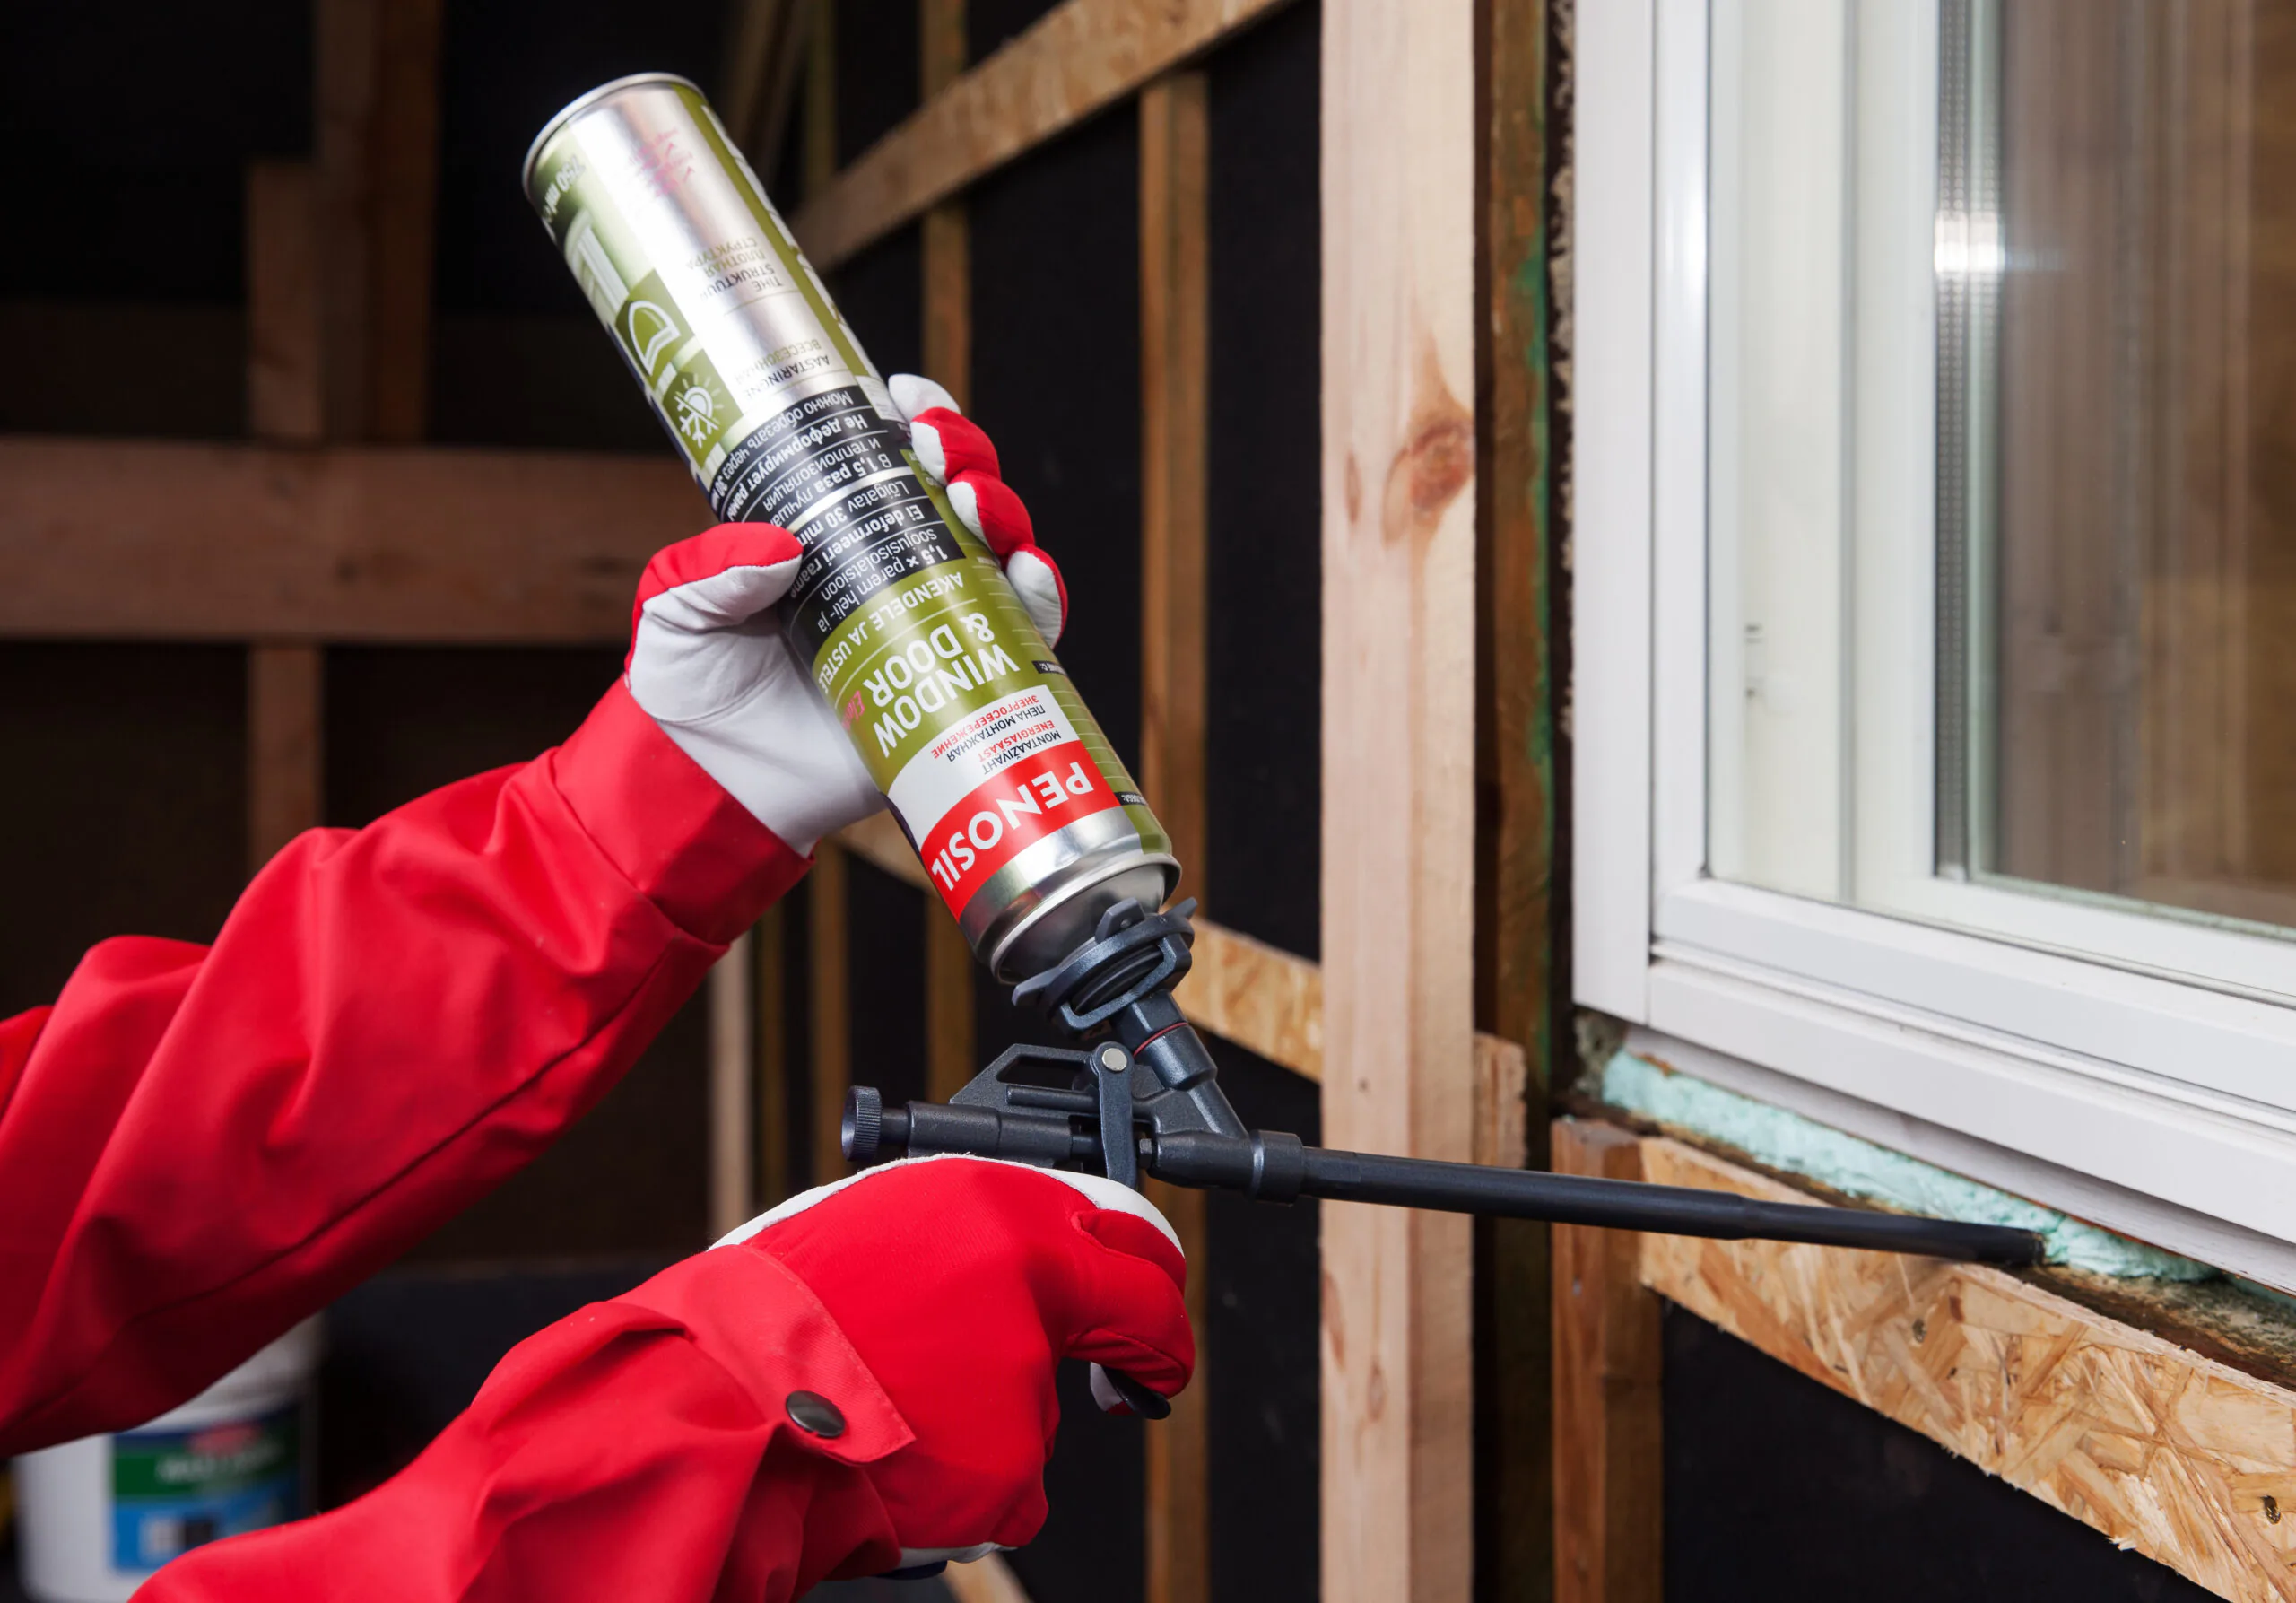
Polyurethane (PU) foam, often sold in aerosol cans from brands like Soudal and Pattex, is a versatile product used for sealing, insulating, and bonding. It works by reacting with moisture in the air to expand and cure into a solid, lightweight foam. But not all foams are the same.
You'll generally find two main types:
For general gap-filling and insulation, a standard can of Soudal PU Foam is an indispensable tool for any contractor. For bonding large panels or boards, consider a dedicated adhesive foam to save time and effort. Always wear gloves when applying, as uncured foam is extremely sticky and difficult to remove from skin.
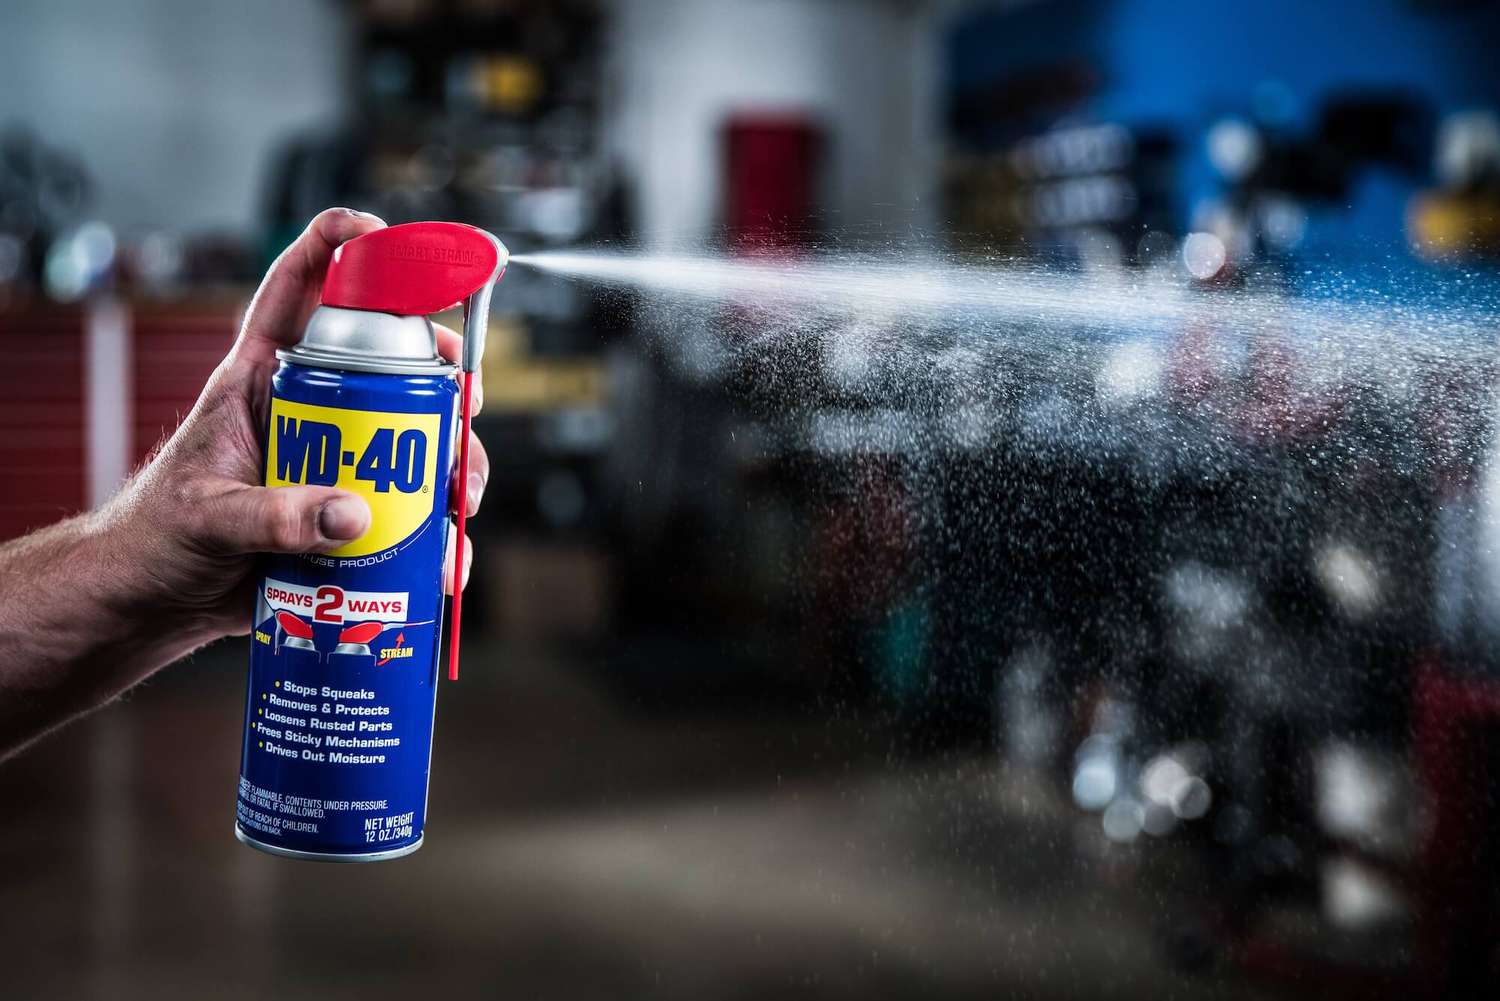
That iconic blue and yellow can of WD-40 is in nearly every workshop, but most people only use it to silence a squeaky hinge. The "WD" actually stands for "Water Displacement," and the original formula was designed to prevent rust and corrosion. Here are five professional uses you might not know about.
WD-40 is far more than a lubricant; it's a multi-purpose problem solver. From cleaning and protecting to loosening and degreasing, it's a product that truly earns its place on your shelf. We stock the full range of WD-40 products, including their specialist line for more demanding tasks.
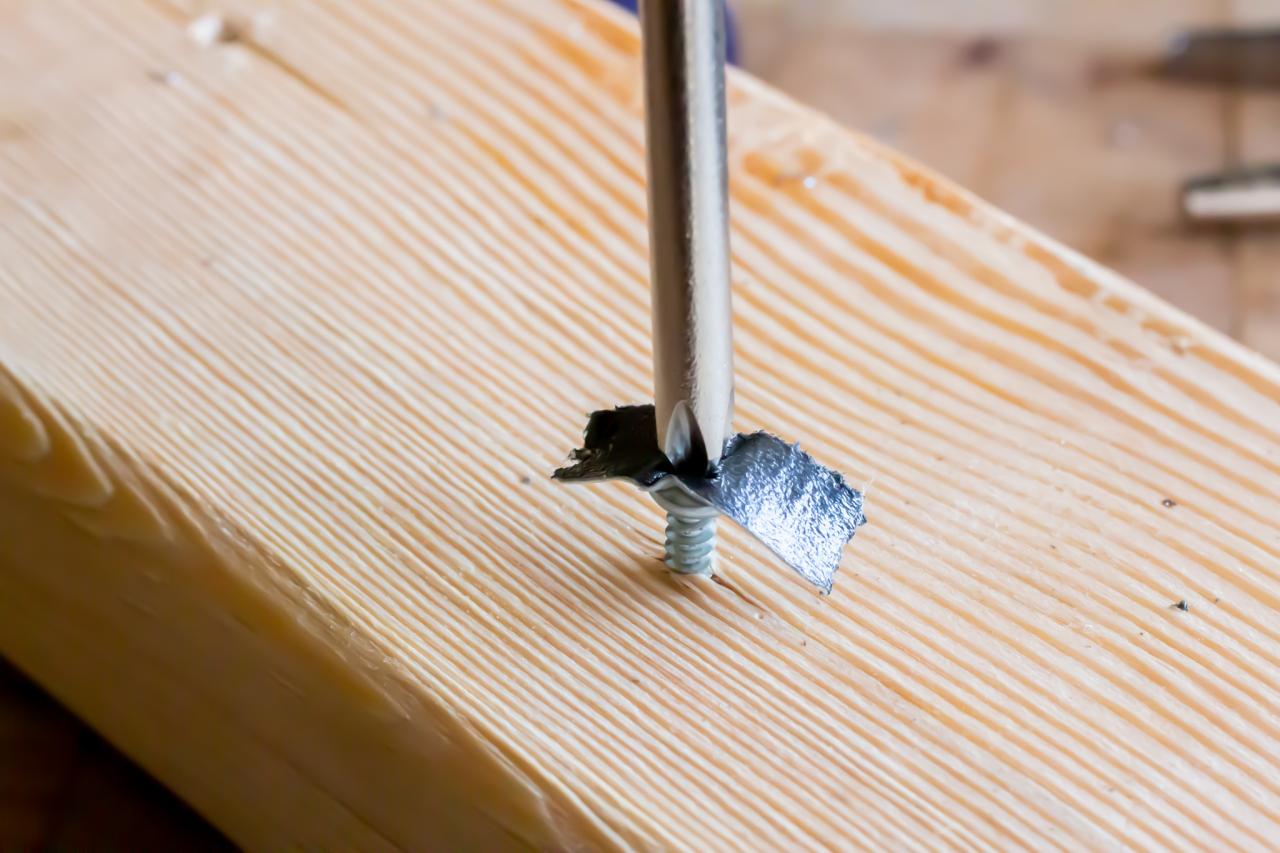
It's a frustratingly common problem: you go to tighten a screw, but it just keeps spinning. The wood fibers that once held the threads are gone. Don't worry, this is an easy fix, and here are three professional methods, from quick and simple to permanent and strong.
This is the classic, go-to fix for most light-duty situations like a loose cabinet hinge.
For a stronger, more structural repair, using a hardwood dowel is the best method.
For wood that's rotted or badly damaged, sometimes filling the void is the only option.
For 90% of household repairs, the toothpick trick is all you need. For load-bearing applications, the dowel plug method is the professional standard. Having quality wood glue and epoxy on hand makes you ready for any repair.

An angle grinder is a versatile tool, but its effectiveness comes down to the disc you attach. Using the wrong cutting disc is not only inefficient but also dangerous. Here's how to choose the right one for the job.
This is the most common application. You need a bonded abrasive cutting disc for metal. These are typically made from aluminum oxide. Look for a thin profile (around 1mm to 1.6mm) for faster, cleaner cuts with less material waste. Brands like Flexovit, Sait, and Patta offer excellent options.
While a standard metal disc *can* cut stainless steel, it's not ideal. It can contaminate the steel, leading to corrosion later on. Use a disc specifically labeled for "Stainless Steel" or "Inox." These discs are made with a contaminant-free bond (free of iron, sulfur, and chlorine) to ensure a clean cut that preserves the anti-corrosion properties of the stainless steel.
Never use a bonded abrasive disc on masonry. It will wear down in seconds and is extremely dangerous. For these materials, you must use a diamond cutting disc. These discs have industrial-grade diamonds bonded to the edge of a steel core. There are different types:
Safety is paramount. Always match the disc to the material you are cutting, and ensure the RPM rating on the disc is higher than the maximum RPM of your angle grinder. Wearing proper PPE, especially eye protection, is non-negotiable. We carry a full range of cutting and grinding solutions for any application.

Constructing in the United Arab Emirates presents a unique set of challenges. The intense heat, high humidity, and airborne salinity demand careful material selection to ensure structures are durable, safe, and efficient. Here are key considerations for any project in the region.
The high humidity and salt in the coastal air create a highly corrosive environment. All external metal hardware—from fasteners and hinges to railings—must have superior corrosion resistance. This means prioritizing materials like 316-grade stainless steel over the standard 304 grade, and using hot-dip galvanized coatings for structural steel.
The relentless sun can quickly degrade plastics and coatings. When selecting external sealants, paints, and protective membranes, always choose products specifically rated for high UV stability. Polyurethane sealants, for example, should be painted over, while high-grade silicones can withstand direct sunlight for years.
The extreme temperature fluctuations between day and night cause materials to expand and contract significantly. This puts immense stress on joints and seals. Using flexible materials is crucial. Elastomeric, high-movement PU sealants from brands like Sika and Soudal are essential for expansion joints in concrete and facades to prevent cracking and failure.
With high humidity and occasional intense rainfall, a robust waterproofing system is critical. This includes using high-performance liquid membranes on roofs and applying high-quality cementitious coatings like Dr. Fixit products in all wet areas and below-ground structures to prevent water ingress and rising damp.
Building successfully in the UAE means building with foresight. We have over a decade of experience in sourcing and supplying materials that are proven to perform in our demanding local climate. Our team can provide expert guidance on selecting the right products that will stand the test of time against the elements.

After more than a decade of supplying the best brands in the world, we at Husaini Ajmer noticed a persistent gap in the market. Our professional customers—the carpenters, contractors, and logistics managers—needed certain consumable products that met three simple but crucial criteria: unwavering quality, consistent availability in bulk, and fair, competitive pricing. The HUR brand was born to meet that need.
We saw that for essential items like packaging tape and basic furniture accessories, quality could be inconsistent between brands and batches. One month the product would be great, the next, it would fail under pressure. Furthermore, supply chain disruptions could suddenly make these vital items unavailable, halting our clients' operations. We knew we could do better.
HUR is built on the same principles as our parent company:
HUR is more than just another brand on our shelves. It is the physical manifestation of our experience and our commitment to serving the professional community. It's our promise that for the essentials you rely on every day, you will always get quality you can trust, in the quantity you need, at a price that makes sense for your business.